Monday, July 7, 2014

Half Moon Bay Romper

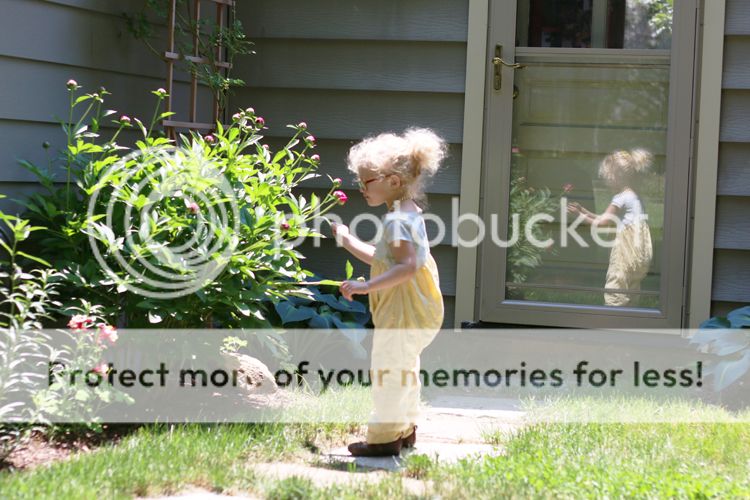
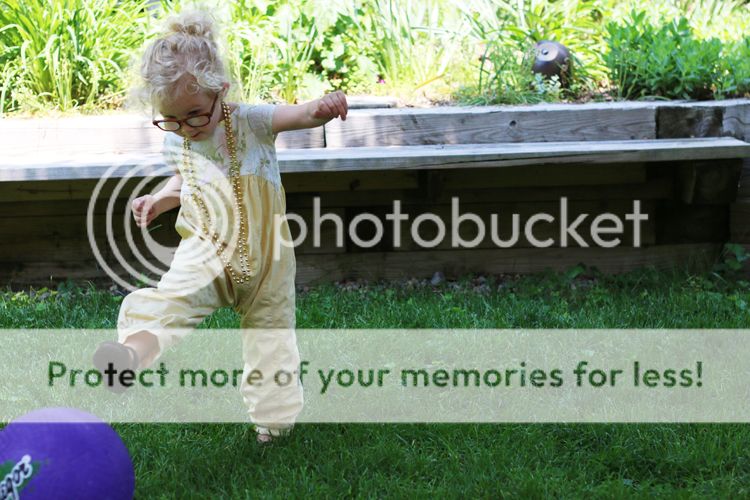
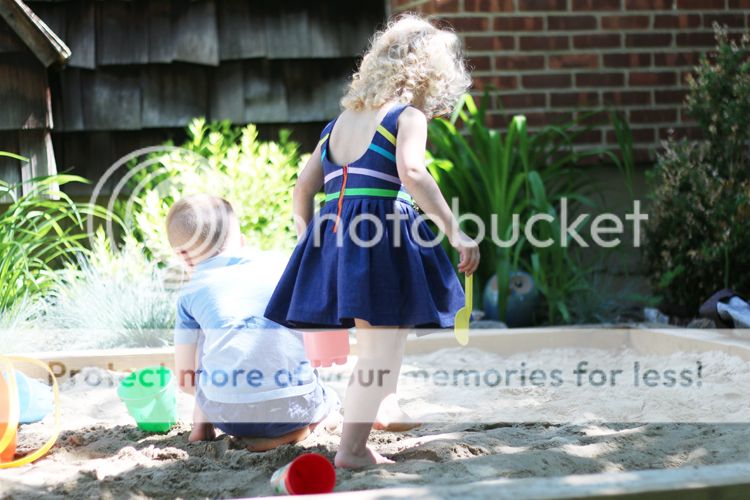
A few months ago I tested the Half Moon Bay Dress and Romper pattern from Kelly at Sewing in No Mans Land.  I tested the romper version, obviously.  I didn't post about it at the time because it's such a springy/summery garment and I couldn't meld in my mind how the outfit feels with how cold and dreary it was in real life.  But now...not cold OR dreary!  So here we are...


This was actually the second one I sewed up during testing (there was a lot of tweaking to get the pattern pieces for the bottom right) and I actually like the first one best, but it still needs to be taken up a little, so we'll go backwards.

The top is from a vintage sheet I also used for this top.  The bottom is from some curtains that were left in our house when we bought it.  The yellow isn't a perfect match, but close enough, and the texture is really interesting - it's like a really exaggerated seersucker.

The pattern comes together in a pretty straightforward manner, although you do need to know how to insert a zipper as instructions aren't included.  

The only adjustment I made was to make the bodice lining pieces match the outer bodice pieces - the pattern has them cut straight across the bottom.  Getting the points sharp on the sides takes a little finessing, but it's not the trickiest thing I've ever sewn.

I haven't tried the dress version with it's high-low hem yet, but I did sew up a dress version in knit with a straight hem that I'll be sharing soon.  Lisi Loo loves it because it's "ho hoft!" - her S is a work in progress.

Thursday, July 3, 2014

Made for Kids Month (hashtagged!)

It wasn't my plan at the start of the month, but as the month went on the self-imposed challenge took shape and I did it!  At least one different hand-made garment on my kid(s) each day in the month of June.  I think I'm getting ahead of myself, though.

Rae of Made by Rae and Liesl of Oliver and S (@madebyrae and @lieslgibson and @oliverands at Instagram) started the hashtag madeforkidsmonth on Instagram and invited any and all to join in.  The idea is to get those hand-made clothes out of the closet and onto our kids!  No pressure, no requirements for participation - I was just having so much fun I think I got a little carried away.  Plus it helps that this girl of mine has zero opinion on what she wears (except pajamas - don't fight her on her pjs).  Free reign!

I think the best part of all this was being forced to dig into her closet and being pleasantly surprised at how many things that I made last year still fit.  That's the beauty of sewing for girls, though, isn't it.  A dress this year is a tunic next year and maybe even a blouse the following if you're lucky.  Below you'll find all my Instagram photos (all taken with my iPhone) that I linked up to #madeforkidsmonth and links to posts for all the garments that actually have posts published for them.


6/1: Dress -- 6/2: His Shirt -- 6/2: Her Shirt


6/3: Romper not yet blogged -- 6/4: Shirt -- 6/5: Shirt never blogged and Pants
UPDATE: Romper post here.


6/6: Shirt -- 6/7: Dress -- 6/8: Dress


6/9: Her Shirt -- 6/10: Shirt (& pants again) -- 6/11: Dress not yet blogged & Cardigan pre-blog


6/12: Shirt -- 6/13: Pants -- 6/14: Shorts


6/15: Tunic & Leggings -- 6/16: Shirt not yet blogged -- 6/17: Shirt


6/18: Shirt not yet blogged -- 6/19: Shirt -- 6/20: Cardigan pre-blog


6/21: Shirt -- 6/22: Shirt -- 6/23: Tunic


6/24: Shirt -- 6/25: Shirt -- 6/26: Shorts never blogged


6/27: Dress not yet blogged -- 6/28: Dress not yet blogged -- 6/29: Dress 
6/30 (below): Dress not yet blogged 


I clearly have some catching up to do!  I was a couple garments behind before we went on vacation June 15, then I made a couple quick swing tees the day before we left, and finished the month on a roll with four new knit summer dresses because I was worried about making it to the end of the month without repeating so I planned two dresses but my fabric made me make four.  Always blame the fabric.  

Of note, most of these pictures don't show off the garments as clearly as they could, but I use Instagram more for pretty photos than sewing news so I didn't want to compromise one for the other.  It was an added challenge that I enjoyed (most days).  You can follow along with us @amos_el - we'd love to see you there!

Now let the catching up commence!

Sunday, June 8, 2014

Scoop Back with Bias Tape

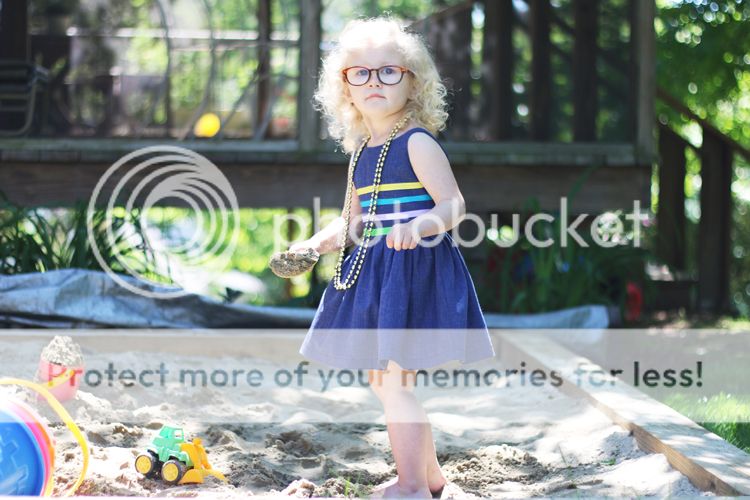
So I've got something to say...and be prepared...it's a pretty bold statement: I think this new dress may just be the absolute favorite thing I've made yet.

It's self drafted - modified from the pattern I used for Lisi Loo's Christmas and Easter dresses.  This is really the second one I made, but I just love it so much that it got bumped to the front of the "to blog" list.


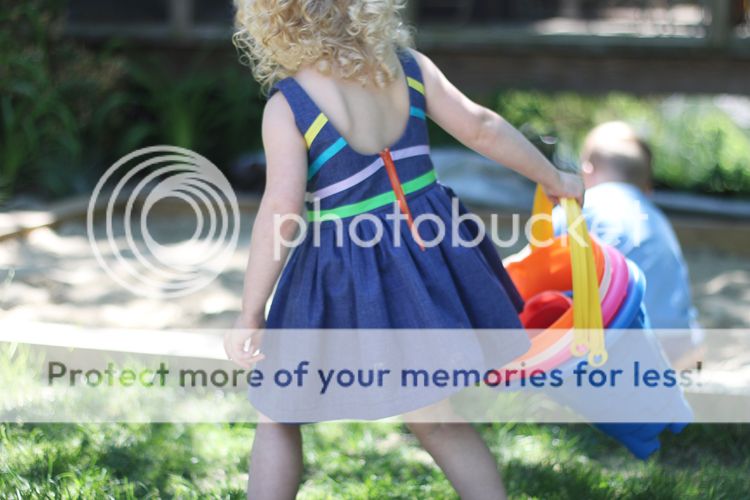
The fabric is a blue mid-weight chambray - heavier than a shirting but lighter than home decor.  The stripes are bias tape top stitched, straight across the front, then angled up in the back.

The skirt is pleated.  Of course it is.  I use a super easy cheater method for pleating a skirt that is far less frustrating and slightly less time consuming than gathering.  It would never hold up to a tape measure, but I figure no  one's going to be chasing around my toddler with a tape measure so it works for me.  I'm sure I'm not the first inventor, but I did come to the process on my own.  If anyone's interested, I wouldn't mind trying my hand at a tutorial - just let me know.


I have considered, time to time, trying my hand at PDF pattern design.  To say the amount of work entailed is daunting would be an understatement, but this dress...this dress makes me feel like I'm selfish if I keep it to myself.  A bit dramatic?  Absolutely!  ha!  But I'm hoping you can read through the drama to my point.  If any dress is going me make me take the plunge, this is it.  

Any interest?


Monday, June 2, 2014

A Yellow Tuileries

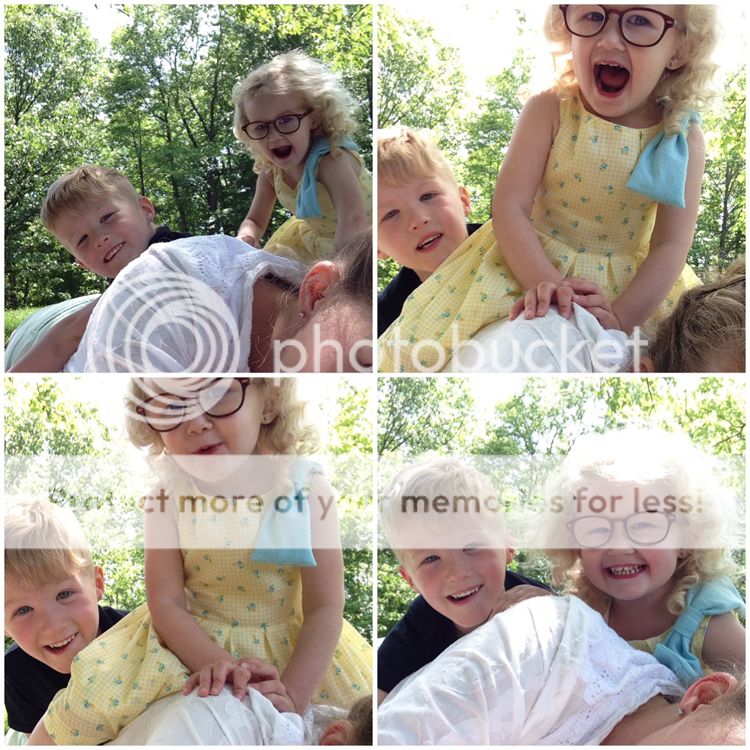
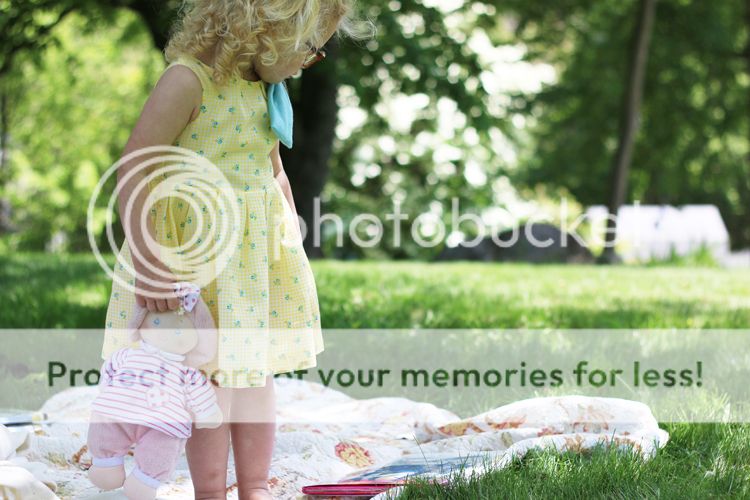
It's warming up here, and warm weather means dresses.  And dresses are definitely on my brain (and my sewing machine!) lately.  First up is a new Tuileries.  So springy, so sweet.

What I like about this pattern is that it so nicely walks that line between feminine and pretty and playful and youthful.  It's a pretty dress, but it's also playable - not too precious.  Although you could definitely make it dressy simply with your fabric choices.  In fact, this is the pattern I used for one of Lisi Loo's Easter dresses.

Like that one, I fully lined this dress (the pattern only calls for a lined bodice) and used an exposed zipper again.

The fabric was from an estate sale and once I got it home and washed I forgot why I grabbed it.  I feel like it would be very easy to misstep into "homemade" territory, but I think with this dress pattern it just feels sweetly vintage.  (Note to self: take more close-up fabric detail shots!)  If you have any other pattern suggestions, please pass them on because I have yards and yards left still!

In an attempt at making sure it was a little more professional looking I made the floppy bow (similar to this top - which was in very heavy rotation all winter, by the way!) with some perfectly matching sweater scraps. To my eye, it worked.  The only other change I made was when I attached the skirt.  The pattern calls for a pleating and gathering, but I just evenly pleated the skirt all the way around.  Of course I did.

Now sister's got a sweet new spring dress perfect for pretty and play.  And book-nics.

Thursday, May 29, 2014

Eos Tank

I promise I'm not turning into a one-trick pony.  I had to give it one more shot, though.  A while back Alexia (one of the Eos Dress designers) posted a picture on Instagram of a tank version and I just had to try it out.

I'm so happy with it!  First and foremost - I got bold with color!!!  There is NOT A STITCH of yellow in that main fabric but look at me throwing on some big yellow details!  ha!  I know this isn't a big deal for a lot (most?) people, but it is for me, and I'm pretty proud of myself.

Since there are no sleeves and I needed to enclose the arm opening, I had to rework almost all of the construction steps, but it didn't turn out to be as complicated as I worried it would be.  If anyone is interested in the steps I took, just let me know - I'd be happy to share them.

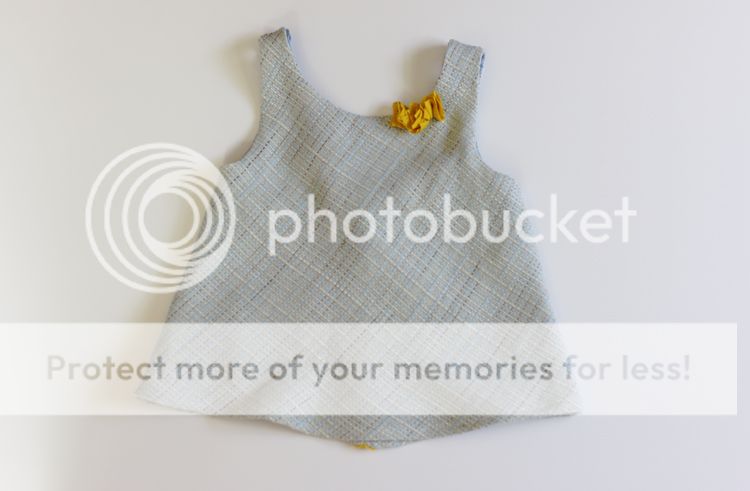
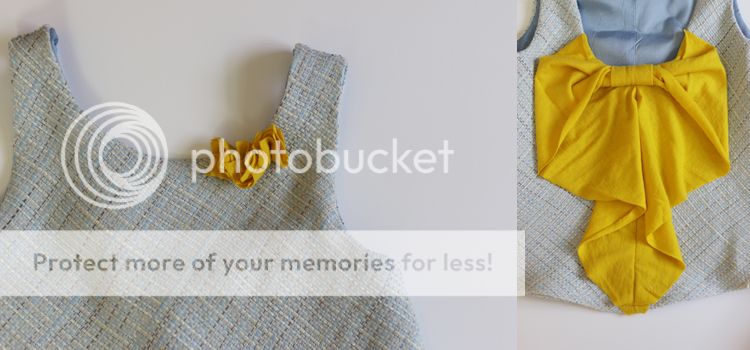
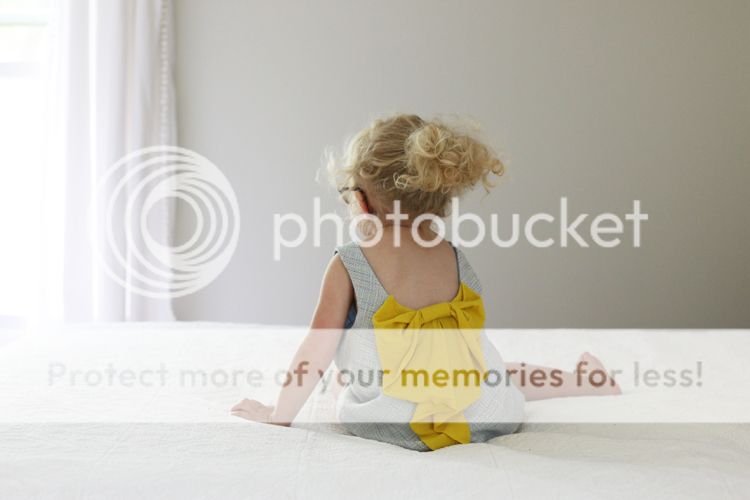
For that fabulous yellow bow I used knit left over from a t-shirt I had previously cut up for a different project.  I just used one layer and didn't hem the edges and it's extra droopy and I love love love that about it.  I'm really into the feminine aspect of the bow on this top, but don't want a super girly structured bow (does that make sense?) so I'm really happy with how this turned out (obviously).  I just cut up some squares, scrunched them up, and hand stitched them to the front to carry a little color and interest over to the front, too.  Lisi Loo kept whipping herself around in front of the mirror trying to decide what she liked best - the bow, or the "flowers".

The main fabric and the lining came from an old skirt of mine.  The skirt was cut on the bias so I didn't really have a choice about this top being on the bias.  Unfortunately, despite my adjusting the pattern to bring the shoulders in and using the 18m size, I think the loose weave and bias cut resulted in a stretched out garment that...womp womp...won't stay on her shoulders.  ARGH! 

Oh well.  She now has three lovely Eos tops, only one of which she can wear now, but two of which I will gaze at periodically in her closet and wait patiently for her to wear next spring.  

As for the pattern, I am putting it to bed until next year as well.  My sewing has picked up again a bit lately with the warmer weather (= dresses!) and I have two projects completed and ready for pictures (minus one hem).  I really needed a win after these near misses, and I got it.