Friday, May 23, 2014

Eos - Takes 1 and 2

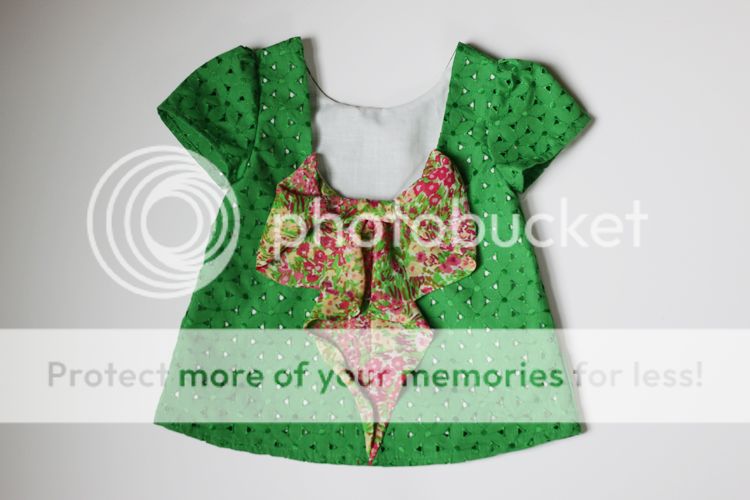
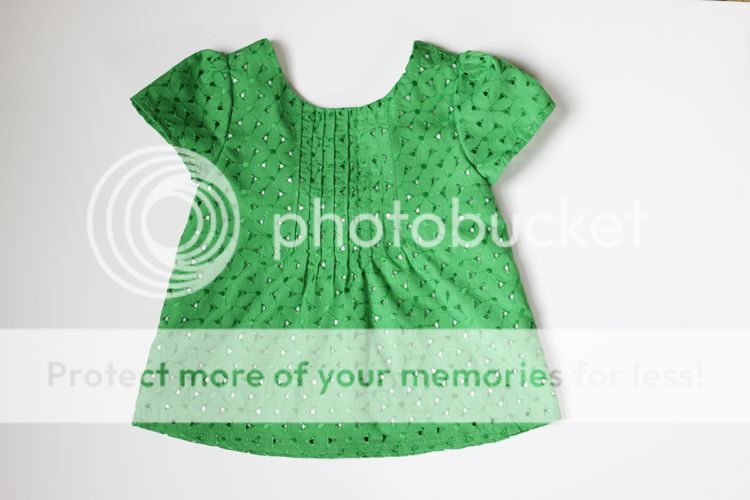
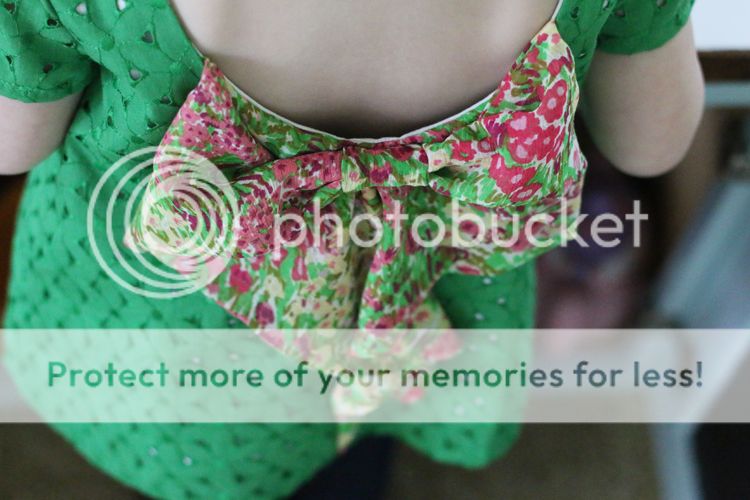
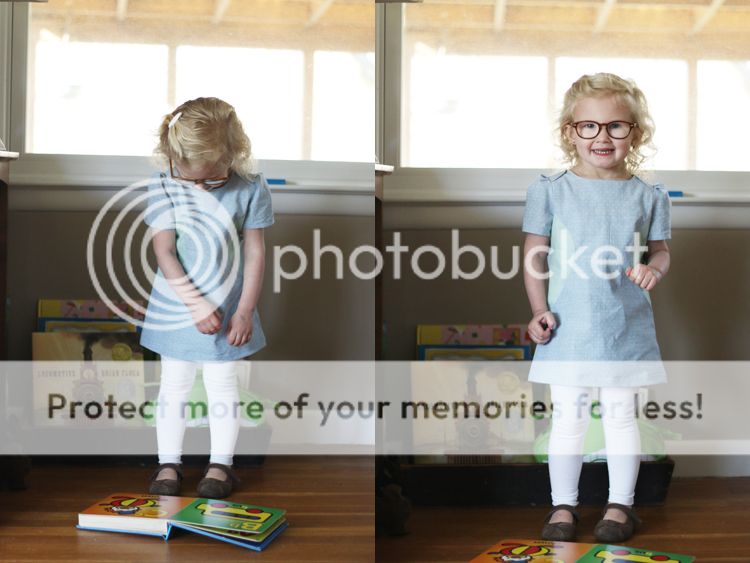
I've been wanting to make the Eos Dress & Blouse since I first saw it previewed.  Finally got around to it...twice...  Explanation forthcoming, but first - I present my second Eos blouse!

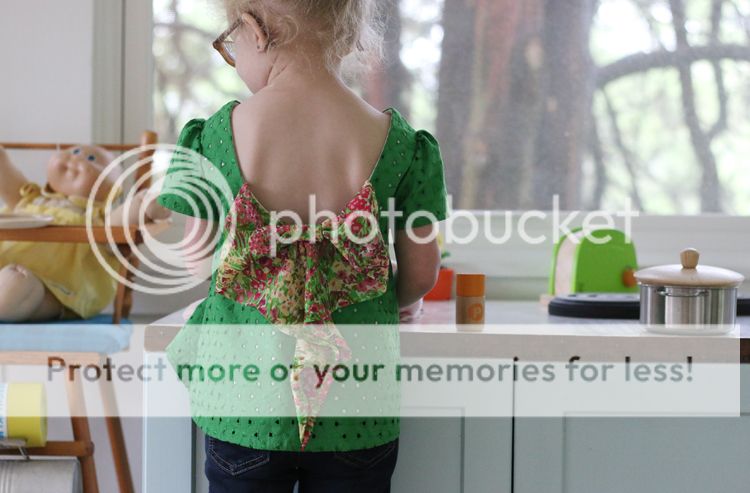
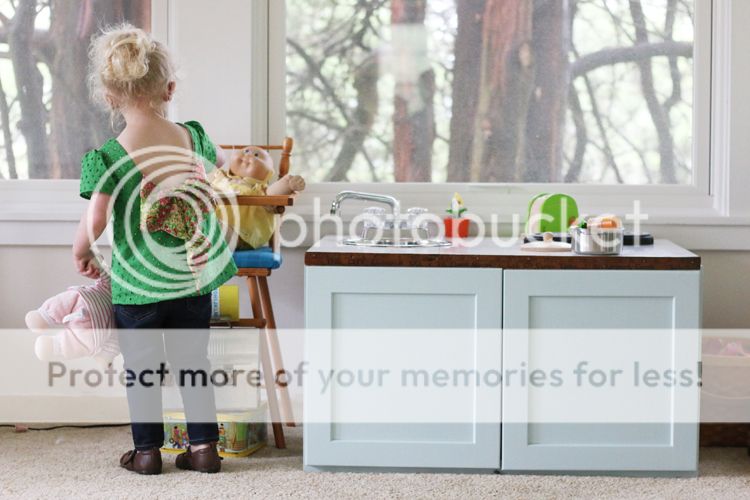
Adorable, right??  Even better on...

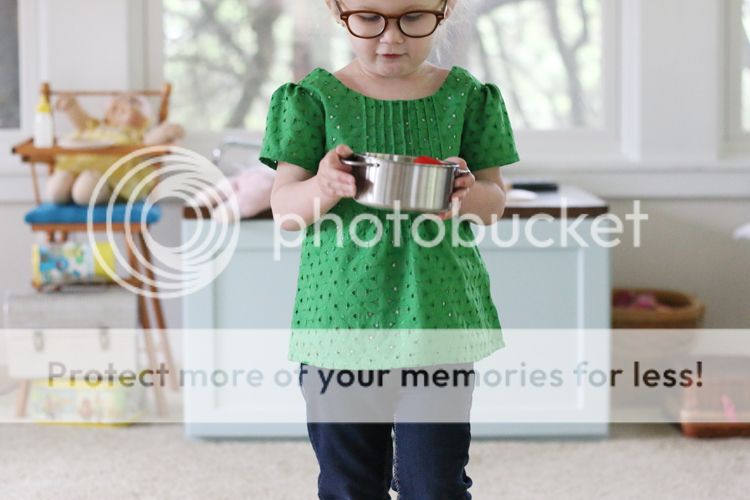
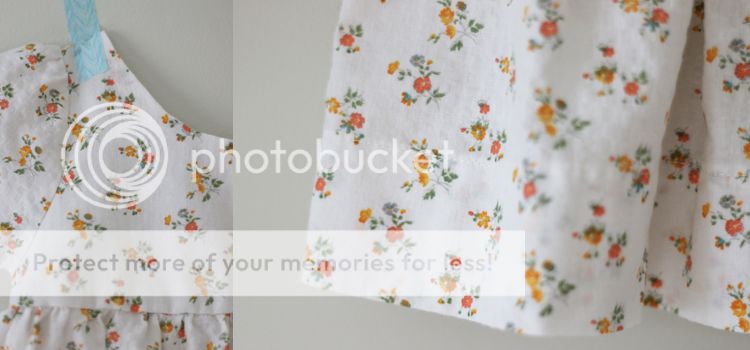
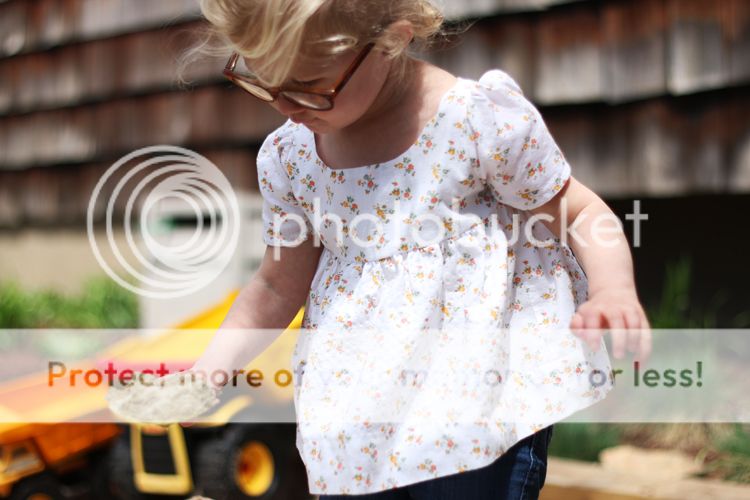
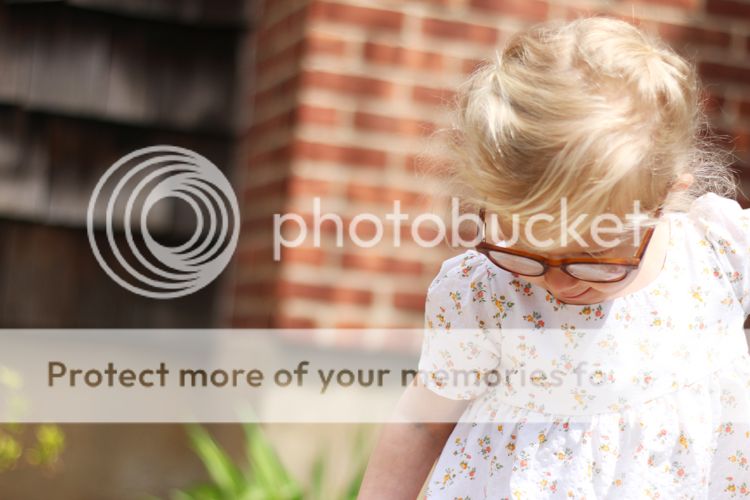
The bow totally sells it, but the pin tucks on the front are such a sweet detail.  I wasn't sure how they'd work with this eyelet, but they weren't a problem.  Actually, this fabric holds creases really well so they were even easier on this top than the first one I made.  The only change I made to the pattern was to pleat the sleeves instead of gathering them.  I like the link between the tucks at the front and the pleats in the sleeve.  Plus gathering sucks...so there's that.

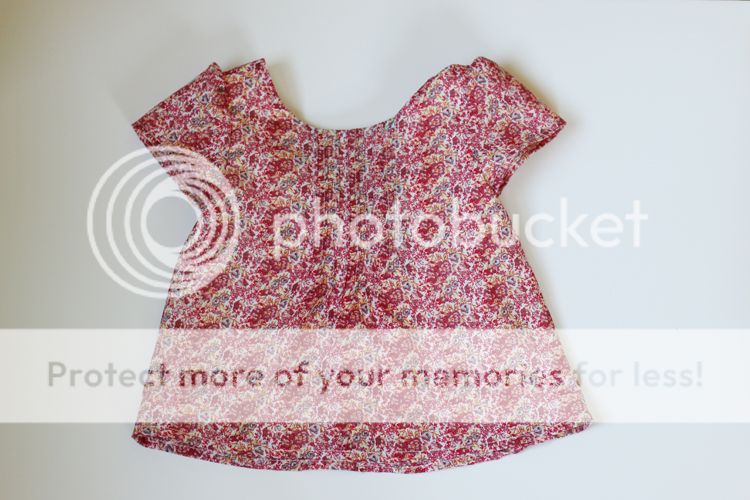
Now for why I made two...and why I'm showing you the second.  According to the measurement chart, my daughter should be wearing the 2/3.  She wears a 2 in store-bought clothing but I was skeptical because I think I've only ever once before made a pattern in her actual size - always at least one if not two sizes smaller. But she was pretty much an exact match for the 2/3 chest measurement so I went for it.  I'm sure by now you realize that I shouldn't have been lazy about fittings, but I was.  Now I have a lovely top sitting in her closet waiting for next year.  As you can see in the picture above the 18m size (the smallest for the pattern - I made it 2/3 length) is still a little wide, but it's not falling off her so I'll take it.  A shoulder width measurement on the chart would have been really helpful on this pattern, I think.

Here's my first, just 'cause I love it so:

The other problem I ran into with this first version was with the bow.  The construction instructions for the bow start out with separate instructions for handling a single sided or a double sided fabric, but then just sort of left you hanging on the double sided halfway through so I had to work it out for myself.  For the second I used some crazy sheer crepey fabric that was a pain to work with, and probably could have been used in a single layer, but I doubled it up and it worked out just fine.

It's hard for me to publicly critique a pattern - especially one that I really do love - but I wanted to be honest and give a couple hints so that, if you want to try this pattern out as well, you can tackle from an educated starting point.  I really do love this design and look forward to making more in the future.


Tuesday, May 20, 2014

A Headstand Shirt

First thing: the time has come for a nickname for "the kid" aka "the boy" aka "big brother" - and online alias to make discussing him on the blog and instagram a little more personal.  His sister is known as Lisi Loo, which is also her nickname in real life, but we normally just call him by his name.  So my mom suggested "Magnus".  When I was pregnant, I teased my husband by insisting we name him Magnus.  I was (mostly) joking, but it was a joke that still comes up from time to time and so we're going to give it a go.

Now, on to the good stuff.  If you follow along on instagram you'll know that Magnus (this is going to take some getting used to!) has recently mastered his headstand.  He worked so hard and is so proud of himself, as he should be.  I thought the world should know, even when he's on his feet, that he can stand on his head, so I made him this shirt:

I finished it up last night and left it outside his door.  He can read, but I wasn't sure he'd get the joke right away.  He's a very by-the-book kind of thinker.  I shouldn't have doubted him, though.  He thought it was hilarious and wore it to pre-school today.

I used a plain tee from Walmart and made a freezer paper stencil.  Easy as pie.  And certainly easier than a headstand!


Way to go, Magnus!


Friday, May 9, 2014

Spring Sunki

Once I made my first Sunki I couldn't wait for inspiration to strike for my second (because my fabric speaks to me - doesn't yours?).  But then I forgot about it...until a couple weeks ago when I pulled that first Sunki out of the closet and discovered it still fits!  I little shorter in the sleeve and length, but add leggings and boots and she was looking totally cute in her perfect-for-almost-spring-weather outfit.  But what about when Spring really does decide to show up?  It was time to have a chat with my fabric - and she was ready to gossip.  A blue piece from this bin had a crush on a green piece from that bin and a lavender zipper was ready to stretch her matchmaking muscles.  (Am I taking this too far?  I just finished a large cup of coffee...so if I am, blame the caffeine...).

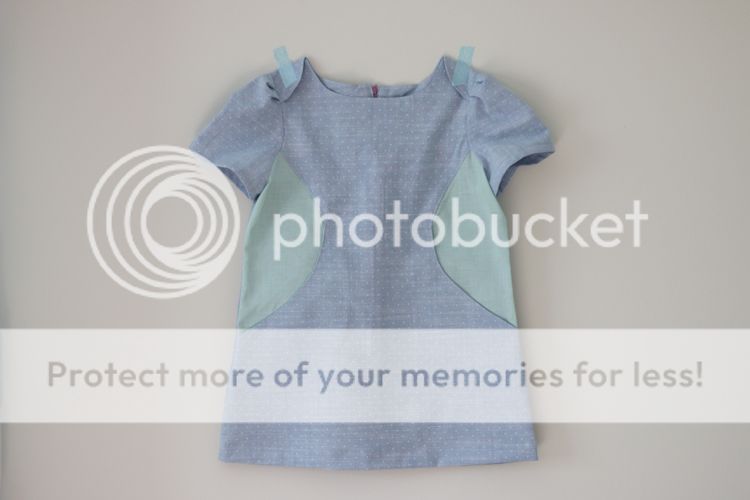
Anyway - here's our happy result:

The blue is a chambray with minty green dots printed on it that I picked up at Joann a couple of months ago (That's right - I bought NEW fabric - from a STORE!  ha!  It's by Lisette but I couldn't find it listed online.).  The green was part of a stash my aunt passed on to me a while back.

I used the same size as last time but with short sleeves and intentionally kept the length on the shorter side to be worn with leggings through the spring.

I following the sleeve directions more closely this time.  I did still wing-it with the pleating, but matched it closer to the directions than last time and I do like the results.  The one change I'll make next time will be with zipper insertion - I think an exposed zipper would have been nice here to really show off the contrasting color.

The leggings she's wearing are the ones I made here - but I took them in some more...again.

Stretch, we'll call her.  All legs and curls this one.

Friday, May 2, 2014

New Favorite

I have a new favorite top (for this week anyway!).

It's the same self-drafted pattern I made up during Kids Clothes Week.  This time I used a floral I picked up at en estate sale recently.  It has an interesting texture that was a little tricky to photograph - kind of like a seersucker - but no stripes.  There is probably a name for it, but I clearly don't know what it is.

 I pictured orange buttons down the back but that's pretty much the only color button I don't have.  I DO have about a million loose white buttons.  A lot of them probably are sets but I just don't have the patience (or the time!) to sit down and sort them all out.  So I just grabbed five two-hole buttons of similar size and sewed them on with some golden yellow thread.  Subtle, quirky, cute.

The only change I made was to the length.  I added two inches when I cut it out, and increased the hem from one inch to two which increased the total length by one inch, which I think is just right.

I do think it could use a little something extra on the front or the shoulder - a bow?  a fabric flower?  I'm still mulling it over.  Perfectly wearable in the mean time, though.


Friday, April 11, 2014

KCW - Easter Dress #2

This year we are celebrating Easter with my in-laws a week late to accommodate schedules, and spending Easter Day with my family.  Two celebrations are as good a reason as any for two dresses, right?

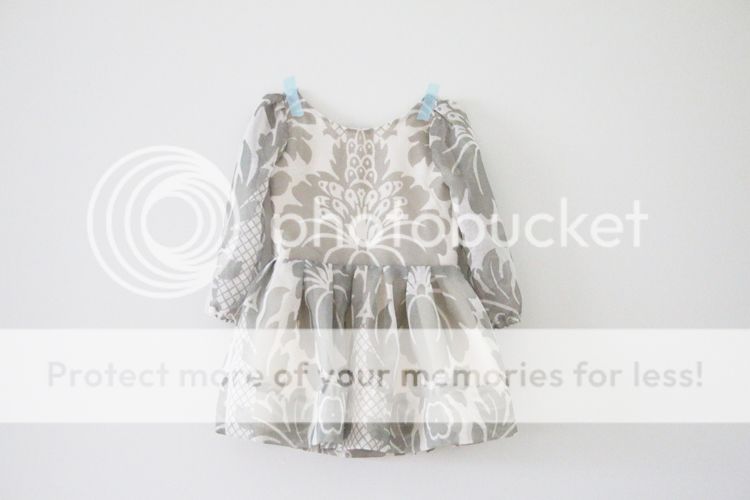
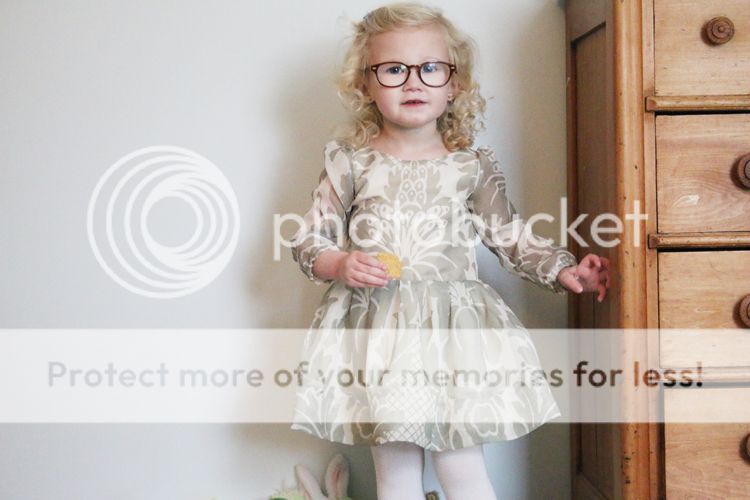
Easter Dress #1 was originally going to be Lisi Loo's only dress, but then I saw this pin...and the next day my mom gave me some sheer curtains...and Easter Dress #2 was born (in my mind anyway - it was just completed yesterday).

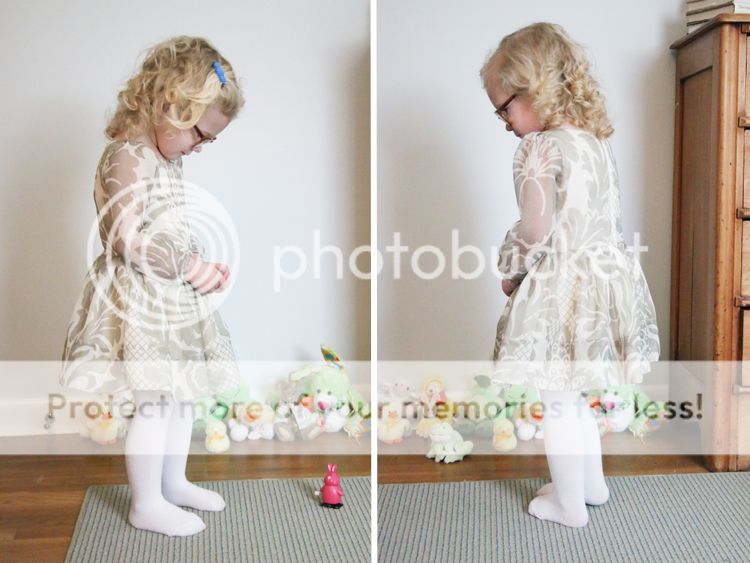
This was always second favorite in my head...until I put it on her.  Now I think I love it even more than #1!

I used the same pattern I drafted for her Christmas dress since this girl only seems to grow up, not out.  (Seriously - she's wearing these pants today - now they're stylish ankle-length skinnies).  The only changes I made were to lengthen and pleat the skirt, to insert an exposed zipper instead of an invisible zipper, and to line the skirt as well as the bodice instead of using a separate underskirt.

The pleating was purely a measure of laziness.  Gathering has now dropped even lower than making buttonholes on my list of dreaded sewing techniques (or should that be higher?   Whatever - I just don't like it, okay?).  I was really pleased how it worked out so evenly with no measuring  or forethought.  Like I said: lazy.

I thought about adding some piping or a sash, but I'm glad I didn't.  Once I got it on her and you could really see more of the large scale pattern I think the simplicity suits it just fine.

I'm going to try to finish out the week with an hour of cutting/prepping tonight, and squeeze in a hour each day this weekend.  Maybe easier said than done, but certainly not impossible.  Like they say: it’s Kid’s Clothes WEEK, not Kid’s Clothes take-the-weekend-off! 

Linking up to KCW here.

Wednesday, April 9, 2014

KCW Stripes and Stretch

We did it!  We got pictures!  Pretty good ones, too, in my humble opinion.  Phew.  But I'm getting ahead of myself...

Here's my outfit from KCW day two:

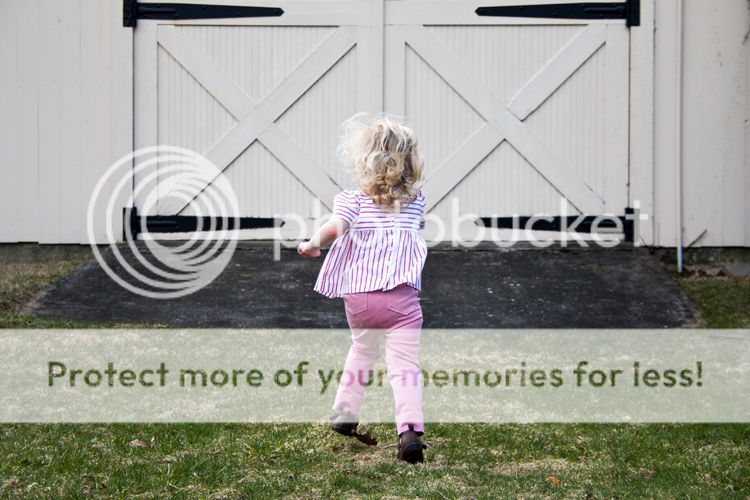
It was blatantly inspired by this pin.  The pink pants are, once again, Lovely Rita Skinnies.  I know there are a bunch of skinny pants/jeans patterns out there now, and sometimes I think about branching out...but then I decide that it's better not to mess with a good thing.  I love this pattern and have definitely gotten my money's worth already - and I've only made one size so far!  Five times if I recall correctly...but still, one size.  These were made from an old pair of my pants (mini me?) and I used the existing hem which was slightly nerve wracking (no wiggle room!) but they turned out just right.

The top was self drafted, and I'm pretty much loving it.  I'm going to need to name this one because I see several more in my future.  (Although I may add one more inch of length next time.  Which may be later this week.  New estate sale fabric, remember?)

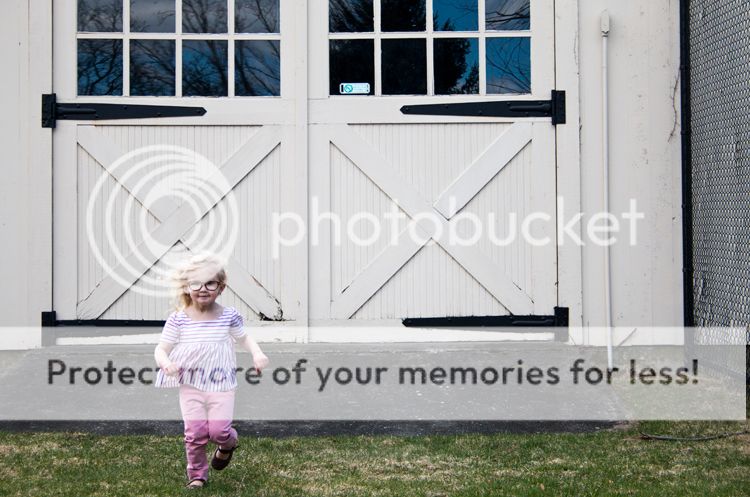
And now that the business end of this post is out of the way, let's get to the show.  We had two false starts this morning, but after some (unusually painful) grocery shopping, we walked down the street to our favorite park for some sunshine and fresh air.  There I found my toddler picture posing hot-spot:

She ran down...

She ran up...

She ran down...

She ran up...

She ran down...

and it was good.

You may be seeing a lot more of these barn doors in the future.  Crossing my fingers it wasn't a one shot wonder!

Linking up to KCW here.

Tuesday, April 8, 2014

KCW - Easter Dress #1

It's that time again - Kids Clothes Week!  (Participants dedicate at least one hour every day for a week to sewing up some clothes for your kids, for anyone not in on the fun themselves.)  Since this season's KCW is conveniently just a couple of weeks before Easter, I decided to take it easy and just commit (to myself) to a dress and sweater for the littlest lady of the family.  But then I went on Pinterest.  I think most of you probably know where this is headed....

So then my list expanded to a 2nd Easter dress (two celebrations deserve two dresses, right?), a new spring blouse, and a new pair of springy pants.  Not an impossible-to-complete list, but a little more than I was confident I would be able to through in a week.  So I did all my cutting and bodice sewing last week, leaving skirts, hems, closures, and the pants for this week.  I've dropped the sweater for now (not feeling it at the moment) but would also love to add the new Eos blouse if time permits.  I hit up an awesome estate sale on Sunday and walked away with approximately 30 yards of fabric for about $15.00.  'Cause that's what I needed - more fabric. And of course new fabric equals more inspiration which leads to an even longer list.  Oops.

Anyway...today I present my first completed garment.

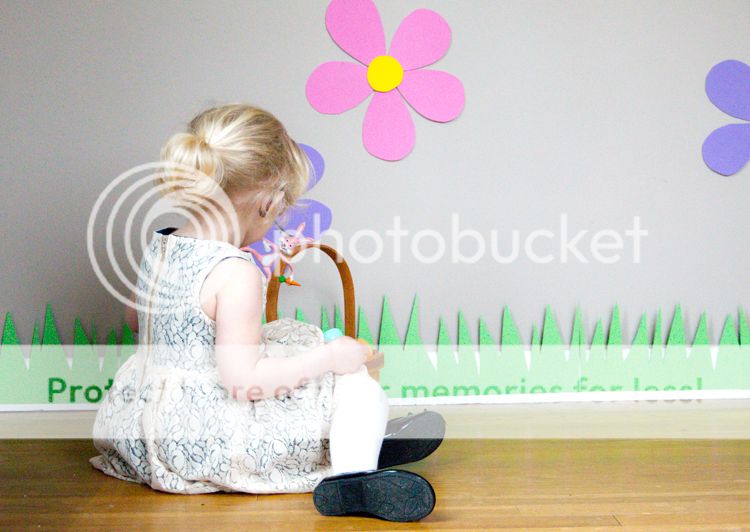
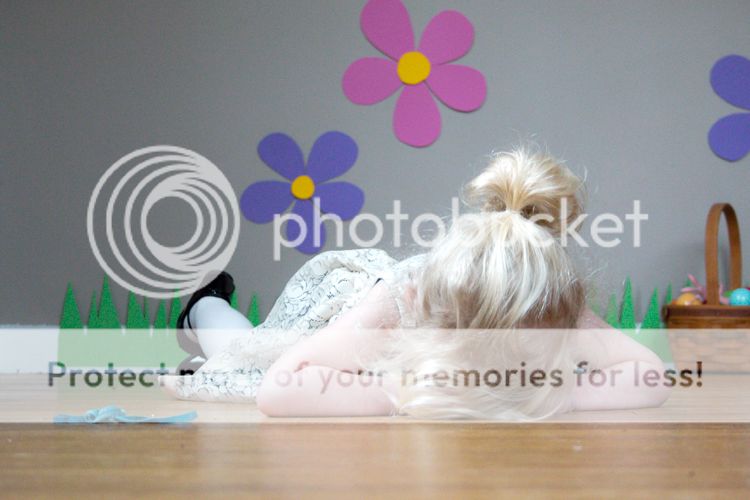
It's so gray and rainy today we decided to bring spring inside - green grass and giant flowers?  I'll enjoy those any day!  Actually, they may stay up all week since we're not all that green outside on a sunny day yet, either.


I thought the flowers and eggs would make this a fun shoot.  Spoiler alert: I was wrong.  Between the gray skies and this little girl having some belly/diaper issues (stink-yyyyy!), we've been pretty miserable around here for the last couple days - and today is no different.  We started with eggs.


Then moved on to a chip.


 Then we got some of this:

And I, unfortunately, had to resort to the phone once again.  Argh.

The pattern is the Tuileries Dress from Kelly at Sewing in No Mans Land.  The lacey fabric was from a different estate sale, and the navy lining fabric was from my grandmother when she de-stashed.  The pattern only calls for a lined bodice, but since I was using the lace I did a full lining.  Added bonus: an extra full skirt.  If it wasn't for the head of the zipper (and a little sketchiness in the actual zipper insertion) this dress would actually be reversible, which I think is pretty neat!


My favorite part of this dress is the little pleated detail at the neckline - unexpected and quite a lovely feminine touch.

Back tomorrow with outfit #2.  It's all sewn up and ready to wear...but I'm going to need you all to wish me luck documenting that fact!!

Linking up to KCW here.